Soft White Bread Rolls
There’s something about the smell of bread, fresh from the oven, isn’t there? These are my go-to packed lunch rolls. I carry the recipe in my head and I would say I probably make these more days than I don’t.
They are just so easy. The time invested is minimal. Promise. It’s less effort to whip up a batch of these than it is to find the car keys and get to the supermarket – and why would I want to when all I can buy there is ‘pappy’ bread.
It all began, apparently, in 1961 when the British Baking Industries Research Association came up with a ‘no time method’ – now known as the Chorleywood bread process. I’m sure it seemed like a great idea to get to a fully plastic wrapped and sliced loaf – start to finish – in something like three and a half hours. The trouble is, it’s horrible. A slight squeeze and it returns to … well .. dough.
I started my bread-making life with a bread-maker, fully believing baking bread was something of a ‘dark art’. As I kept producing more children the single loaf it produced wasn’t enough … and, undeniably, it made an odd shaped loaf … with a hole up the centre. Despite the negatives, when my bread-maker died I wanted to replace it, but prices had increased and we had less money …
The choice was ‘pappy’ bread or I needed to roll up my sleeves. So, I started making bread by hand and I can honestly say it’s no more effort than putting everything in a machine and flicking a switch. Yes, some breads are more complicated than others. Some days I make better bread than others … but I have never, even on my worst days, made anything as revolting as a Chorleywood bread process loaf.
These rolls came into my life when I caught the end of a River Cottage Bites episode and saw these being made. I scribbled the recipe down and have made them ever since, although my method is now different. They added water to the flour, made a scraggy ball and added the salt, yeast and melted butter to that. I however …
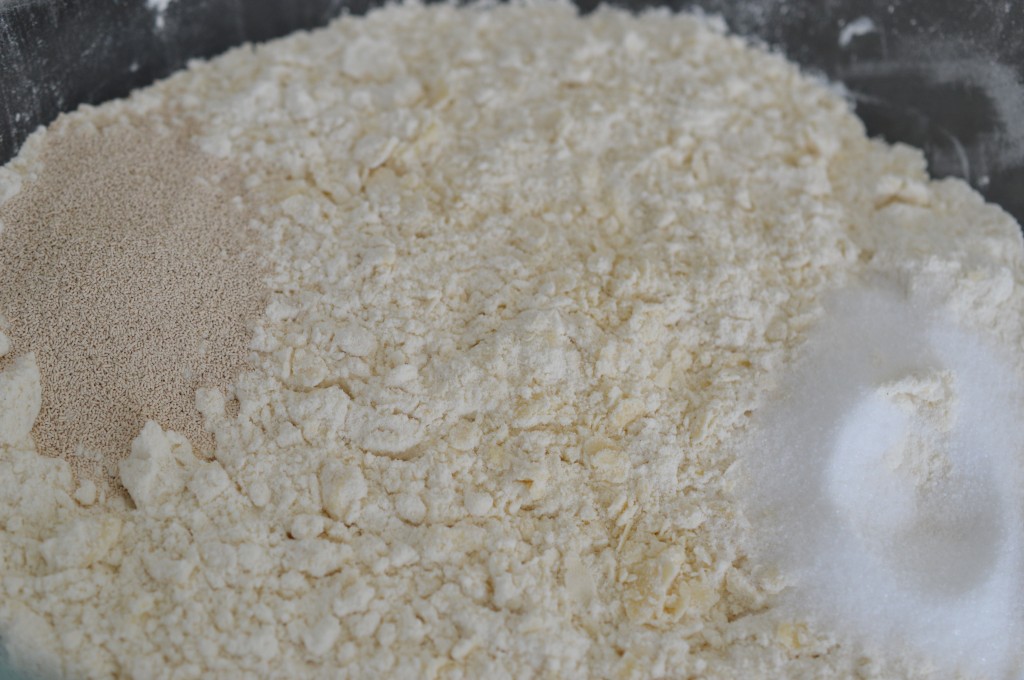
… put 500g of strong white bread flour into a bowl. Then I add the softened butter and rub that in. On one side of the bowl I put the salt, and on the other I put the fast-action yeast.
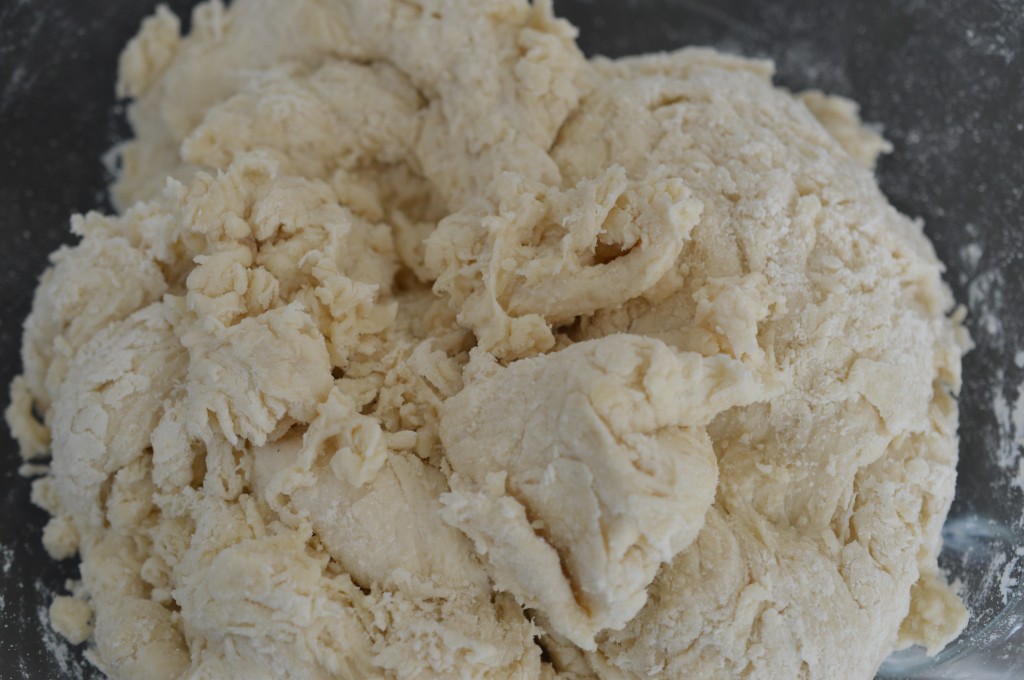
I add 300ml of fresh tap water and then bring everything together into a scraggy ball.
At this point you have a choice. You can either look on this as an opportunity to tone your upper arms .. or go the easy route. Since this is something I make when I’m doing two hundred and one other things I go the easy route.
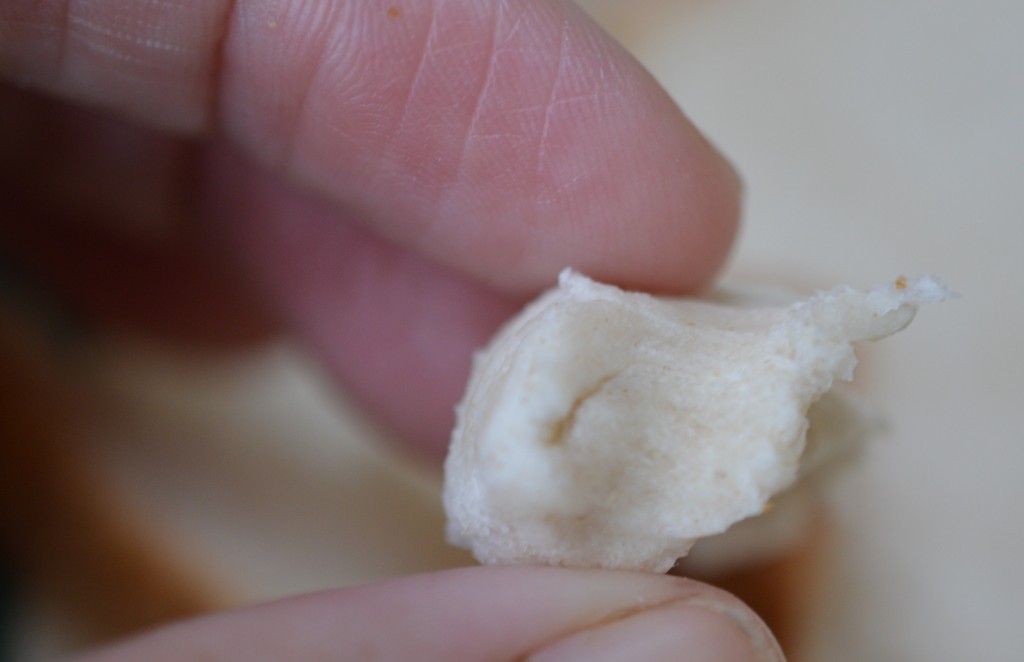
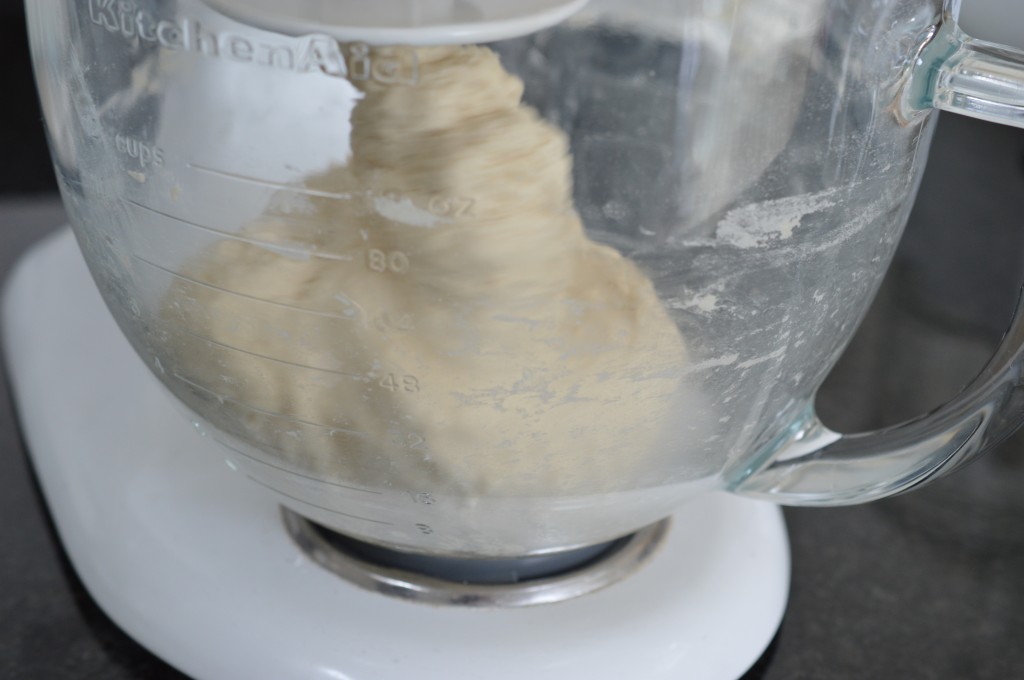
Into the bowl of my Kitchenaid, and with the dough hook fitted, I knead on slow for five minutes. If you’re going the purist route, by hand it will take you twice as long. Everyone has a slightly different kneading style and they’re all fine. What you are doing is ‘working’ the dough to build up gluten.
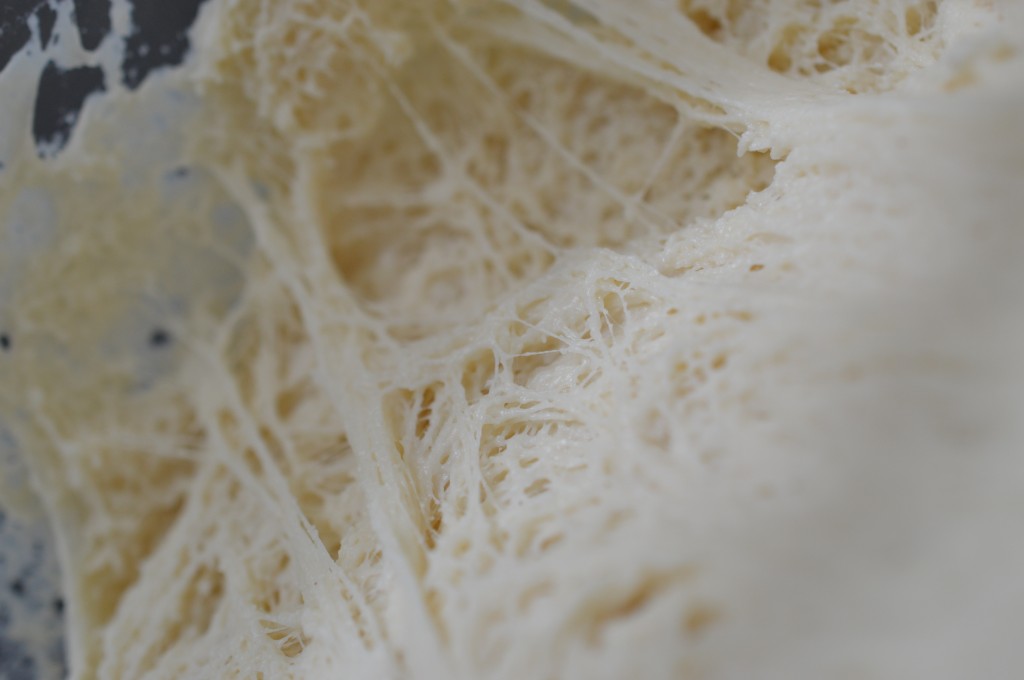
Here’s the science – gluten is a protein. When you add water to flour the gluten in the flour expands to form a network of fine strands. It’s this network which makes the dough stretchy. Roughly. (I do wish my children didn’t ask questions like that ..!)
By then the stickiness will have disappeared and it will be ‘elastic’. You get a feel for it after a while. Don’t get too stressed. Yeast is magic.
Pop your beautiful, smooth dough into a lightly greased bowl, cover with a clean towel to prevent the top developing a ‘skin’ … and go and do something else.
This stage – proving – takes an hour in my warm kitchen. On a cold day it will take an hour and a half. You want your dough to have doubled in size. Slow, actually, is better. You could put your proving dough into the fridge overnight …. In the morning, bring the dough back to room temperature and carry on.
By now the yeast has worked its magic. Tip it out onto a lightly floured surface. ‘Knock’ back. That’s just deflating it. Then shape. I tend to make 8 rolls and divide ‘by eye’. You can, of course, weigh it …
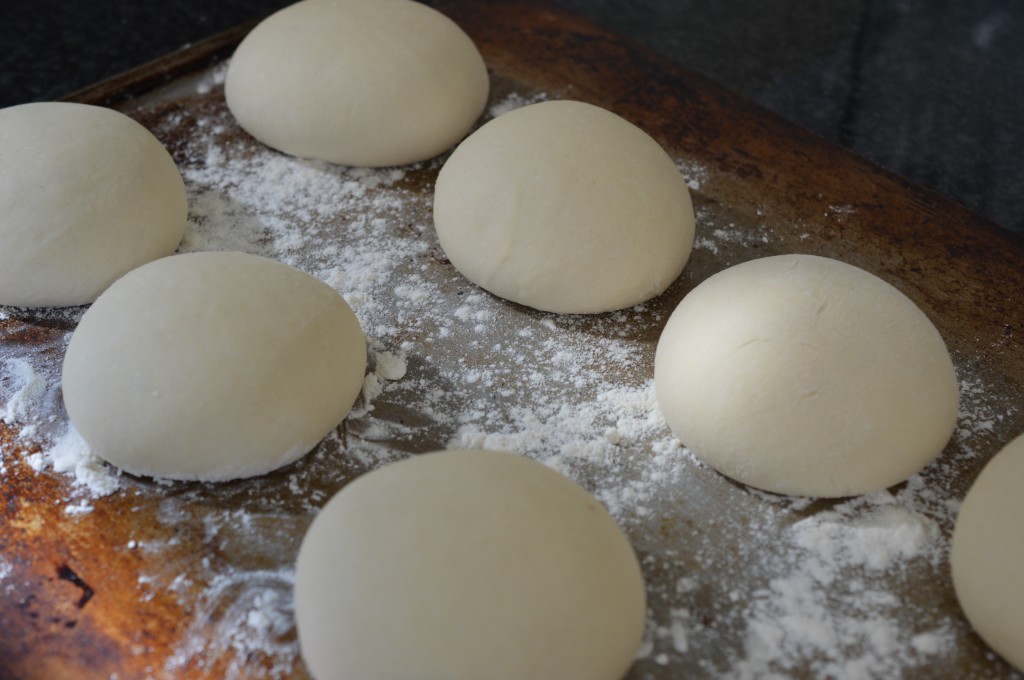
Once you have 8 neat balls, place them on a baking sheet. Give them space to double in size. Sieve a light dusting of flour on top. Cover with the clean tea towel and leave to rise …
Half an hour later, they will look like this. Magic. 210ºC/Gas 7/425ºF/Roasting oven – baking sheet on the rack placed on the floor.
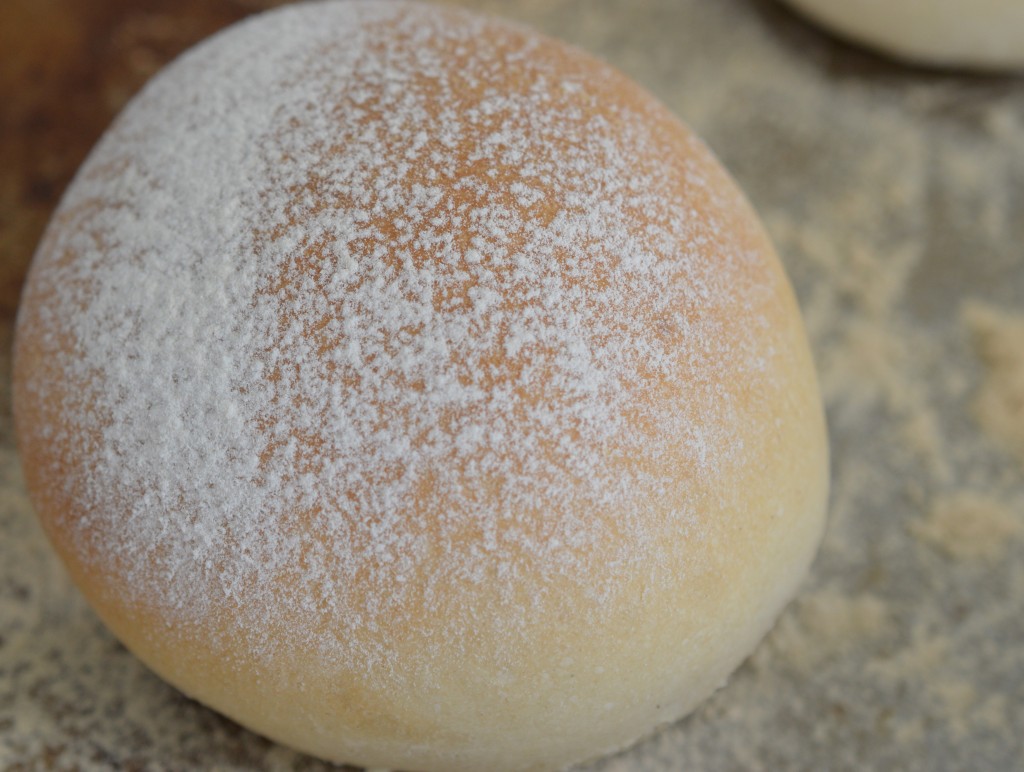
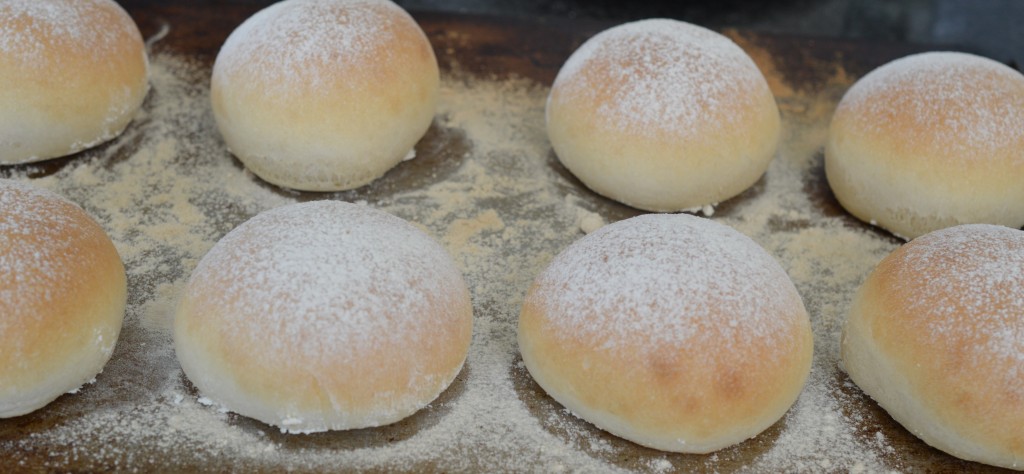
15-20 minutes later they will look like this. Try not to eat immediately! If you want to keep the roll ‘soft’, cool with the tea towel covering. If you want a crunchier crust, then leave in the open air.
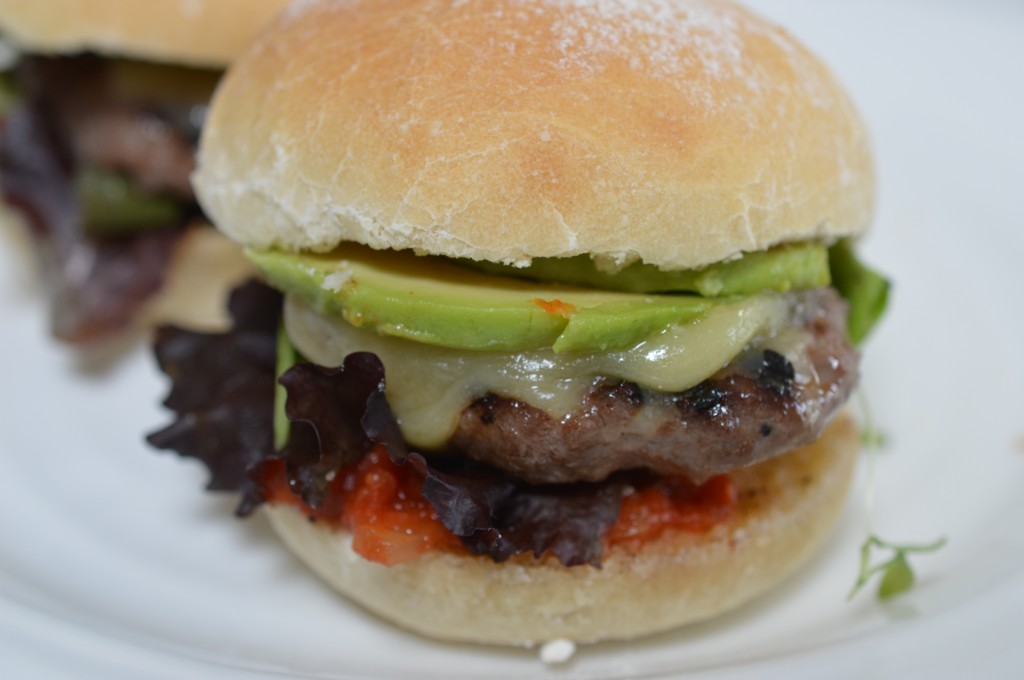
The possibilities are endless. Mine became burger buns ..
Soft White Bread Rolls – Makes 8
(with grateful thanks to the River Cottage team)
- 500g/3¼ cups strong white bread flour
- 5g/1½ tsp fast-action yeast
- 10g/1¼ tsp salt
- 35g/¼ stick of butter
- 300ml/1½ cups of water
Put the bread flour in a bowl and rub in the butter.
Add the fast-action yeast and the salt – placed separately on opposite sides of the bowl.
Pour in 300ml of tap water and mix everything together so that it forms a scraggy ball.
Place in the bowl of your mixer, dough hook fitted, and ‘knead’ for 5 minutes.
When the dough has become smooth and ‘elastic’ place in a lightly greased bowl and cover with a tea towel. Leave to prove for 1-1½ hours at room temperature until it has doubled in size.
Tip out onto a lightly floured surface and ‘knock’ back. Cut into 8 pieces and shape into balls. Place on a greased or floured baking sheet. Dust with flour and cover with a clean tea towel.
Leave to rise for 30 minutes. When they are double the size, place in a hot oven (210ºC/Gas 7/425ºF/Roasting oven – baking sheet on the rack placed on the floor) for 15-20 minutes.
Leave to cool. Eat.
